
In this tutorial, I will show you how to create desktop applications using blazor & electron step by step.
Tools : Visual Studio 2019 , .Net Core 5.
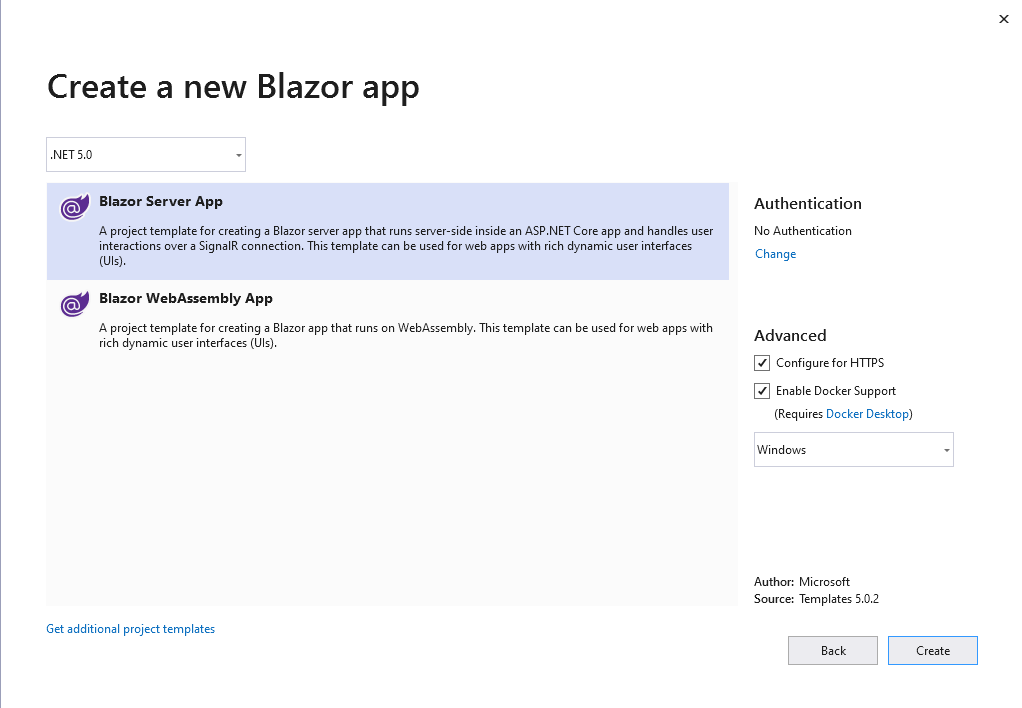
Let's start, First of all we will create a blazor app.
Step-1: Go to nuget package manager and install “ElectronNET.API” package to your application.

Step-2: You have to change to your program.cs and startup.cs classes to ready your blazor application with electron as desktop application.
Startup.cs
public void Configure(IApplicationBuilder app, IWebHostEnvironment env)
{
if (env.IsDevelopment())
{
app.UseDeveloperExceptionPage();
}
else
{
app.UseExceptionHandler("/Error");
app.UseHsts();
}
app.UseHttpsRedirection();
app.UseStaticFiles();
app.UseRouting();
app.UseEndpoints(endpoints =>
{
endpoints.MapBlazorHub();
endpoints.MapFallbackToPage("/_Host");
});
Task.Run(async () => await Electron.WindowManager.CreateWindowAsync());
}
Program.cs
public static IHostBuilder CreateHostBuilder(string[] args) =>
Host.CreateDefaultBuilder(args)
.ConfigureWebHostDefaults(webBuilder =>
{
webBuilder.UseElectron(args);
webBuilder.UseStartup<Startup>();
});
Step-4: You have to install “Electron CLI” in your project. Go to your project folder then command prompt or command shell and write command
dotnet tool install --global ElectronNet.CLI and finally hit enter key.

How to publish/release this to client machine?
ReplyDelete